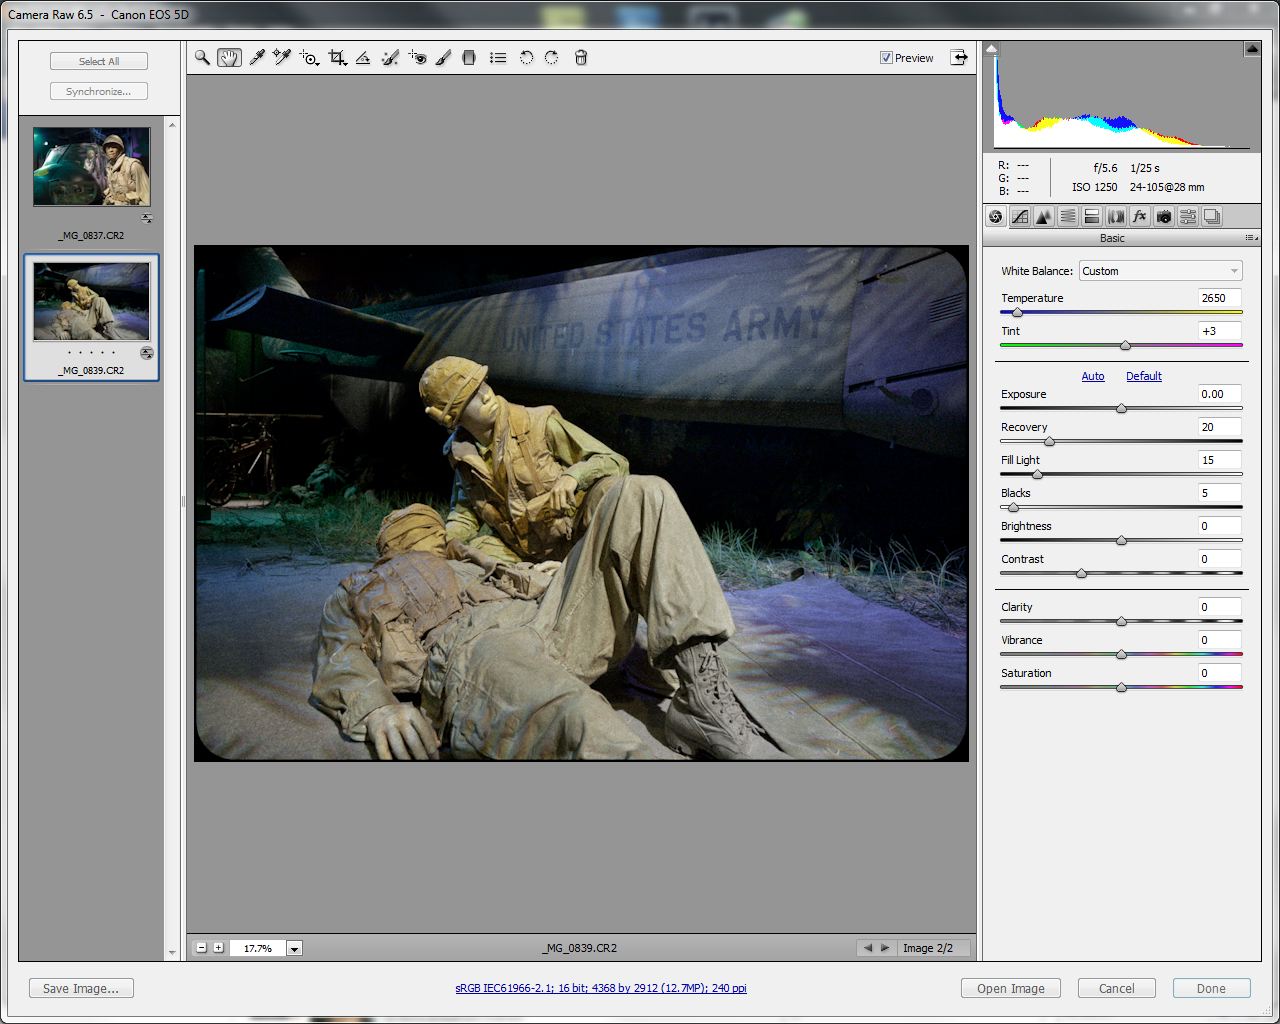
Straight out of camera raw file. Notice the white balance, funky colors, but good bones to work with. Our camera information: Canon 5D Mk I, Canon 24-105. 28mm, F 5.6, 1/15s and ISO 1250.


First step was to correct the yellow tinge in both photos, This was done clicking a known medium grey color, in this case the boot. Next I used several adjustment brushed to lighten up areas, darken highlights and bring focus to the medic and the soldier. I also wanted to brighten up United States Army and the chopper pilot.

Much, much better already, and would be a nice color photo as well, but we will now do some more post in Photoshop. I brought the raw file in and first did a Levels Adjustment. After the Levels, I used a High Pass Filter, set to Hard Light and using a layer mask, painted so the soldiers/medic, pilot and a few other details were selectively sharpened. High Pass is my preferred way to sharpen.
Lastly, I clicked on level, and went though the Red, Green, and Blue Channels to see which channel provided the best black and white version. In this case, Green was the best, I then added a Green Filter with some minor tweaking for the final images.

The final photos below. What do you think?


No comments:
Post a Comment